
Search the Tech knowledge base...
How to 3D Print
Setup an account
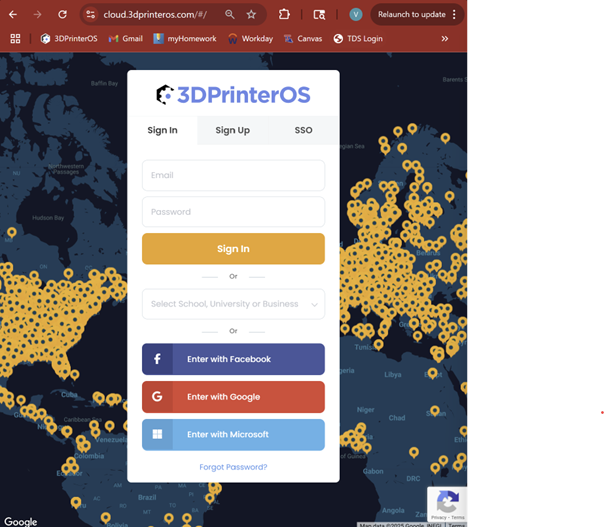
- Type https://cloud.3dprinteros.com into your URL bar. This should be the screen that shows up:
- Click the third option called “SSO”
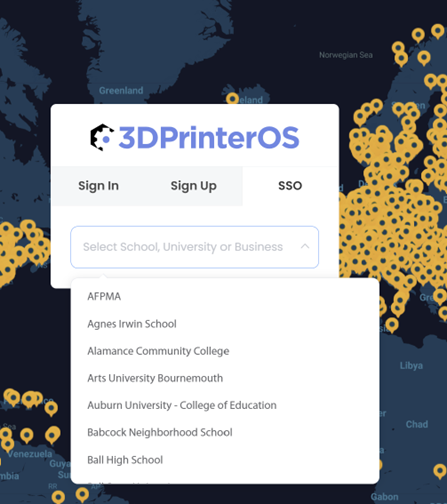
- Start typing “Louisiana Tech University” into the search bar. It should come up as one of the options. Click it.
- After that, it will ask you to log in with your canvas ID and password. You may have to confirm your identity using DUO.
- It will send you a confirmation email, click the link and you should be in.
Uploading a file
- NOTE: students get 100 grams of filament for personal or academic use at the beginning of each quarter, after it is used, they will not get more until the beginning of the next quarter. Students may bring their own personal filament into the lab and register it with a Lab Consultant. Only the student who brought it in will be able to use their filament and they can pick it up whenever they want. If a student brings in a reel of filament, it should be the only filament they use until it is picked up. If a student graduates and leaves filament behind, they will have one quarter after graduating to pick it up before it is donated to the school.
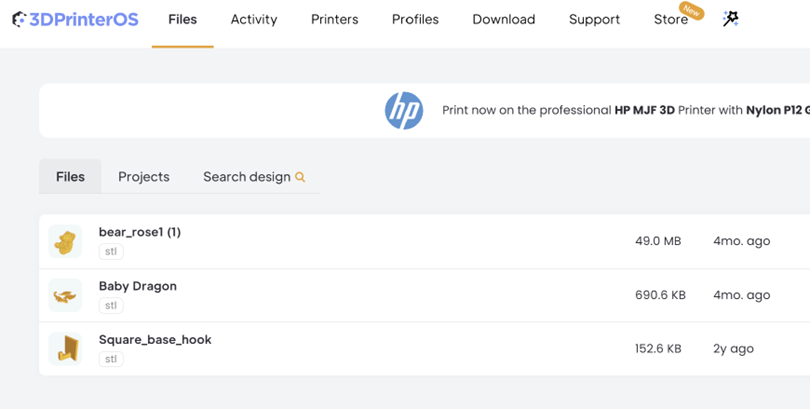
- Click the files tab at the top of the page. It should open to something like this. Yours will have LA Tech themed files to start out with.
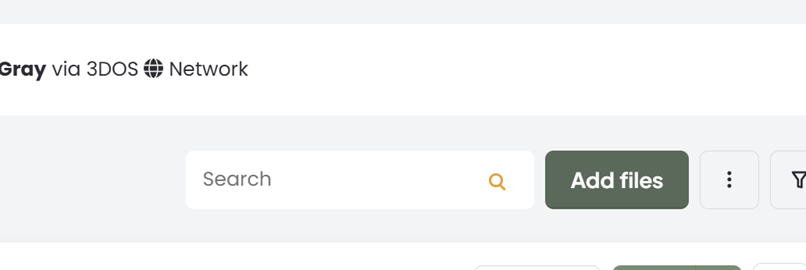
- Click the button that says “Add files” on the right side of your screen.
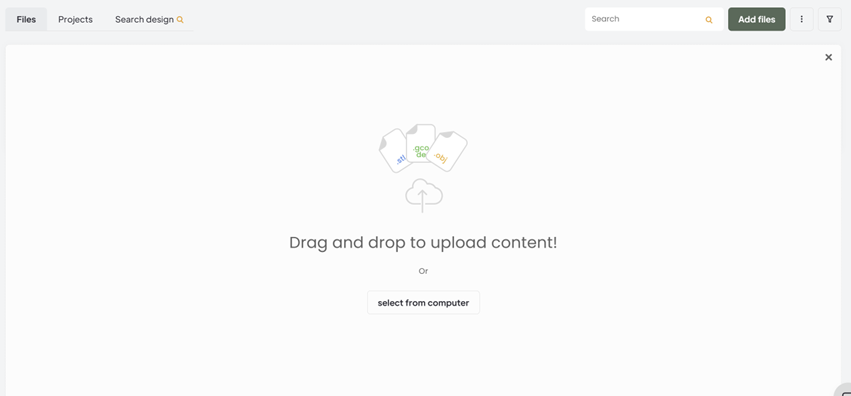
- You can drag and drop the file from your file explorer or you can click the button that says “select from computer.” A window should open with your file explorer and you can select your file(s) from there.
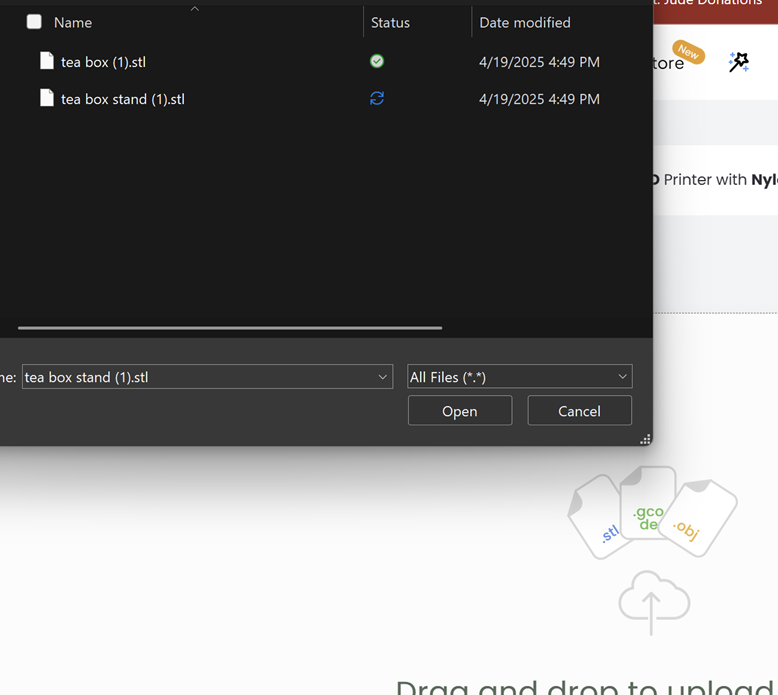
- NOTE: make sure the file is a .stl file. It must be a .stl or it will not slice correctly, and it will not get printed.
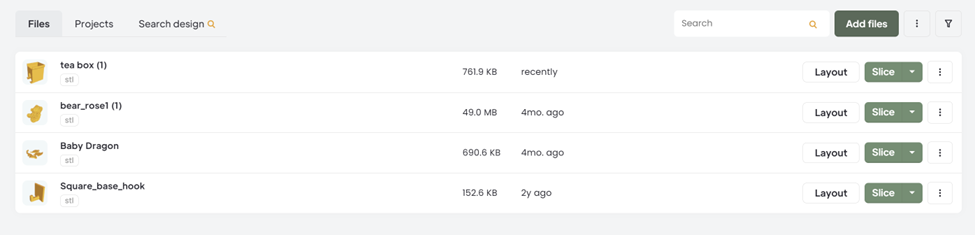
- Your file will appear in your menu. You can also group multiple files into a “project” which you can access by clicking on the “Projects” tab.
Submitting a print
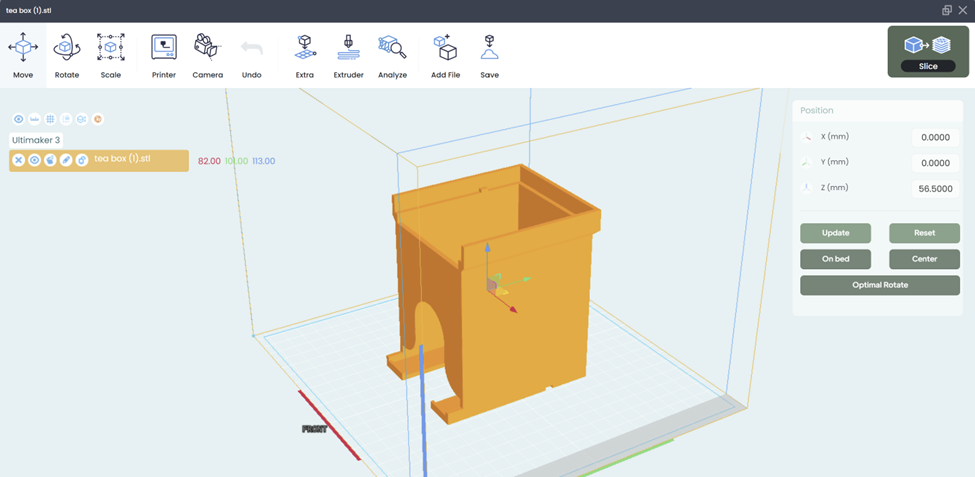
- Click the button that says “layout” on the right side of the screen aligned with the file you want to print. A screen like this will open up. You can move, rotate, and scale your object by using the three buttons on the top left. To continue, click all three of the dark green buttons on the right side of the screen that say “on bed,” “center,” and “optimal rotate.” These will ensure your print is resting on the print bed, centered, and uses the least amount of support material possible.
- NOTE: you can also add multiple files onto the same print bed by clicking the “add file” button at the top. We recommend you do this if you have multiple small objects that you want to print at the same time in the same color instead of submitting multiple prints to the same printer. All files must first be uploaded to the website before adding them.
- Click the “slice” button in the top right corner.
- This screen will open after clicking the slice button.
- First make sure your object load into the viewer on the left.
- If you want to send your object to the 6-hr, 12-hr, or 1-day printers, make sure the drop-down menu under “printer type” says “Ultimaker 3”
- If you want to send your object to the 2-day printer, make sure the drop-down menu says “Ultimaker 3 Extended”
- After that, DO NOT change any of the default settings, otherwise your object will not be printed.
- If for some reason, the settings were changed automatically because of the CAD program you used, refer to the picture below for the correct settings.
- If your print is very tall or could easily be knocked over, change the “build plate adhesion type” to “brim” instead of “skirt”
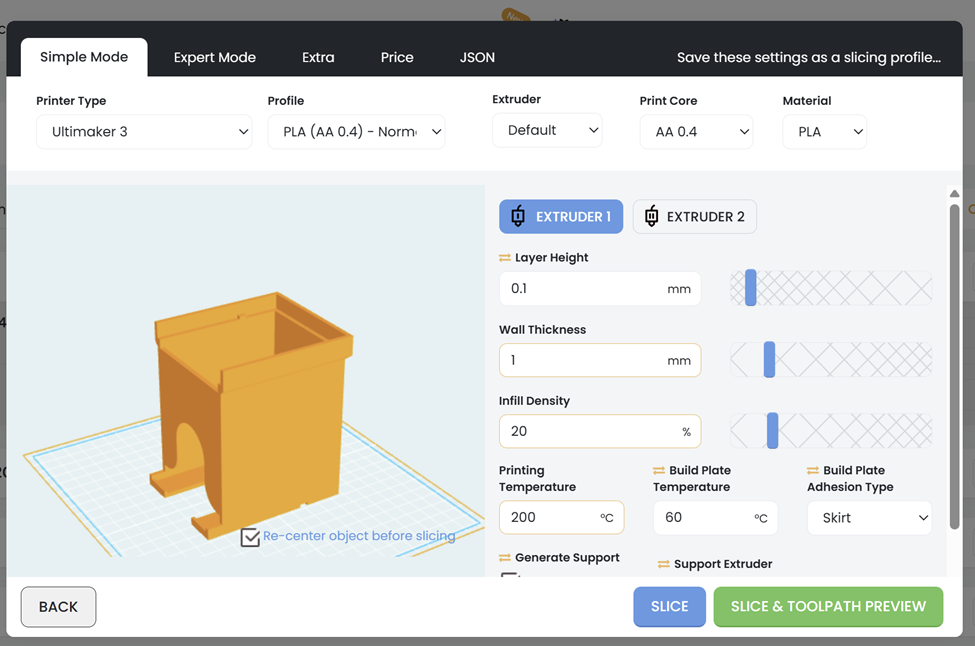
- Click “Slice & Toolpath Preview.” After this screen comes up, make sure your object loads into the viewer. If it doesn’t load, go back to the slicing step and try again.
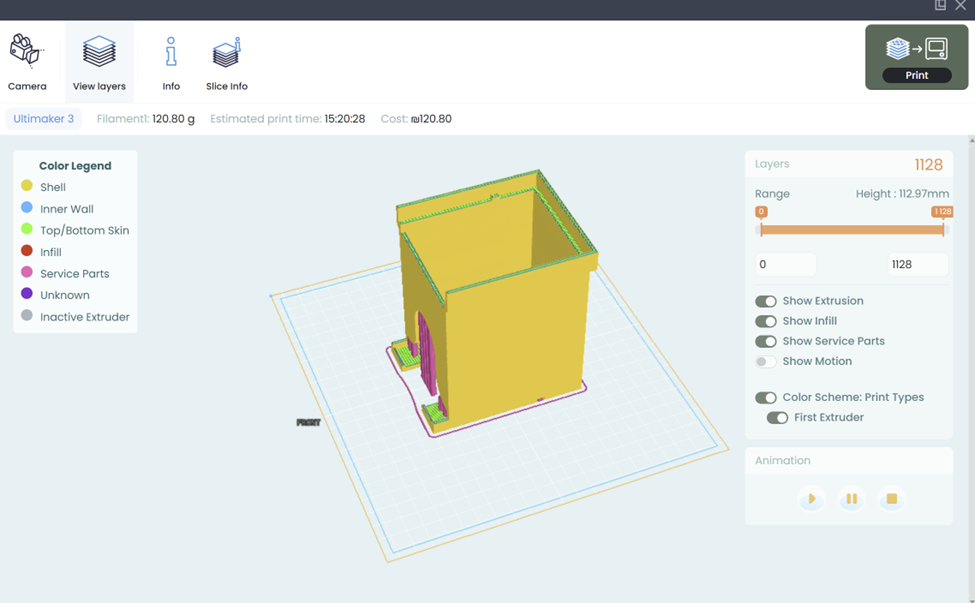
- Click the “Print” button in the top right corner. After this screen comes up:
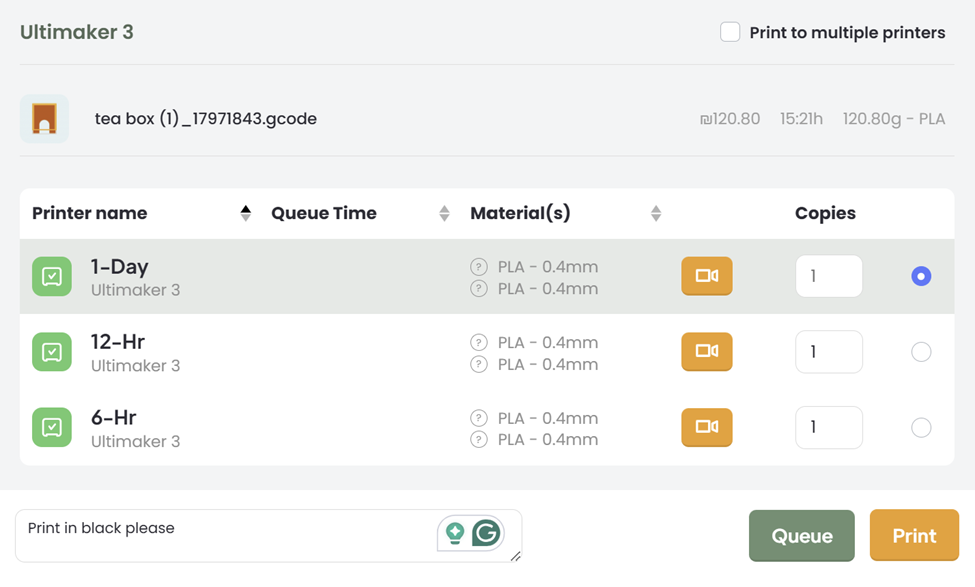
- Refer to the numbers in gray at the top of the screen. The first number is the grams of filament the computer estimates will be used to print your object. The second number is the estimated time of the print. Please queue your object on the printer based on this time. If it takes 0:01h-6:00-h, queue it on the 6-Hr. If it takes 6:01h-12:00h, queue it on the 12-Hr. If it takes 12:01h-24:00h, queue it on the 1-Day. If it takes 24:01h-48:00h, queue it on the 2-Day, but know that these prints usually exceed the maximum number of grams available for students to use, and will only be printed if the student has brought in their own personal filament.
- Always add a note stating what color you want your object to be. The Lab Consultants will not see if you change the color of your object in the software, so if you don’t state what color you want, it will be printed in a default color (red, blue, black, white, or gray). The color options are in the print lab and students can stop by to see them.
- After that, click the button that says “queue,” students will not have the option to click the “print” button.
- Students will be notified via email when their print is successfully uploaded, started, finished, canceled, or failed.
- NOTE: You must pick up your print in person from the 24-Hour BIG Lab before the end of the quarter, otherwise your print will be discarded.